What is JD Edwards?
J.D. Edwards World Solution Company, more commonly known as JD Edwards (abbreviated as JDE) was a company found in March 1977 in Denver, Colorado by Jack Thompson, C.T.P. "Chuck" Hintze, Dan Gregory, and Ed McVaney. It was an Enterprise Resource Planning (ERP) software company. Its products included World for IBM AS/400 minicomputers, OneWorld for CNC architecture and JD Edwards EnterpriseOne (a web based thin client) It was purchased by PeopleSoft, Inc. in 2003 which in turn, was purchased by Oracle Corporation in 2005. So as of today, Oracle sells and supports EnterpriseOne and World ERP software line.
Prerequisites
- Windows 64 Bit operating system
- Account with administrative privileges on the above operating system
- Basic computer operating skills
What to Download?
We basically need to download only a couple of things.
- Oracle Database for Windows 32 bit
- JD Edwards EnterpriseOne 9.1 Standalone
Both of the above softwares are available for free and can be easily downloaded from Oracle's official website. But you need to have an account on Oracle's website, if you don't have one yet then register here for free.
How to Download?
Download JD Edwards EnterpriseOne 9.1 Standalone
- Go to https://edelivery.oracle.com
- Click on Sign In / Register
- Enter Login details
- Accept License Agreement and Export Restrictions by selecting Checkboxes besides them
- Click on Continue
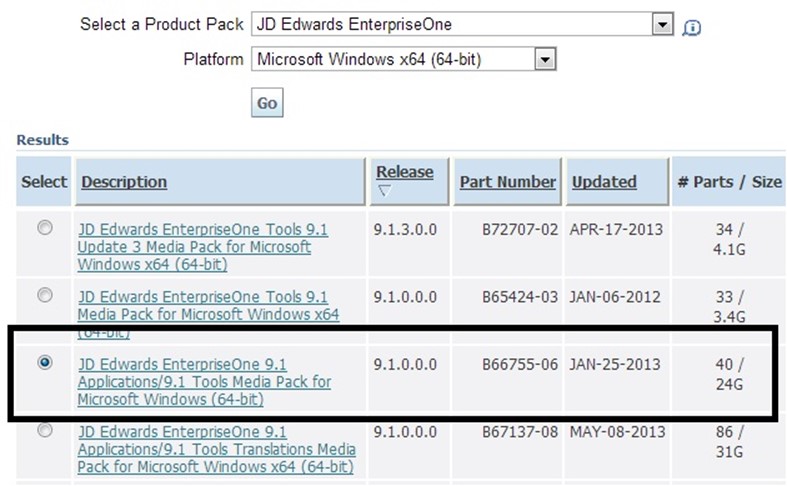
- Under "Select a Product Pack" select "JD Edwards EnterpriseOne"
- Under "Platform" select "Microsoft Windows x64 (64-bit)"
- Hit "Go"
- Select radio button next to "JD Edwards EnterpriseOne 9.1 Applications/9.1 Tools Media Pack for Microsoft Windows (64-bit)" on the results thatare returned to you. Make sure you select this correctly.
- Click Continue
- Here you need to download 4 parts of "JD Edwards EnterpriseOne 9.1 English and Language Standalone". They have the following part numbers (the"-01″ might change in future releases) :
- V31550-01
- V31553-01
- V31551-01
- V31552-01
- Downloading will take quite sometime so go watch a movie till then.
Download Oracle Database for Windows 32-bit
- Go to https://edelivery.oracle.com
- Click on Sign In / Register
- Enter Login details
- Accept License Agreement and Export Restrictions by selecting Checkboxes besides them
- Click on Continue
- Under "Select a Product Pack" select "Oracle Database"
- Under "Platform" select "Microsoft Windows (32-bit)"
- Hit "Go"
- Select radio button next to "Oracle Database 11g Release 2 (11.2.0.1.0) Media Pack for Microsoft Windows (32-bit)" (If you do not find the exact same match see if the part number has "B58806″ in it).
- Click Continue
- Here you need to download the file named "Oracle Database 11g Release 2 Client (11.2.0.1.0) for Microsoft Windows (32-bit)" which has part number as "V20606-01″
- Downloadi it by clicking on "Download".
Part 1 : Extracting files and arranging them
Once you have finished downloading the above files you need to extract them and sort correctly. Firstly create a folder in your hard drive, say, "JDE-files". Extract all the zip files, namely "V31550-01.zip", "V31553-01.zip", "V31551-01.zip" and "V31552-01.zip" in the folder you just created.
If you are done with extracting, you will see that you have 4 folders in your directory with the names same as that of the zip files. Now "V31550-01″and "V31553-01″ contain the client files where as "V31551-01″ and "V31552-01″ contain the database files.
Once you are ready with all the files, here's what you are supposed to do :
- Go to "V31553-01″ folder, select all files and folders by pressing Ctrl+A.
- Press Ctrl+X to cut the files
- Go to "V31550-01″ folder and paste all the files and folders by pressing Ctrl+V
- Now go to "V31552-01″ and select all files by pressing Ctrl+A. These are all the database files, in cabinet format.
- Press Ctrl+X to cut the files
- Go to "V31551-01″ folder and paste all the files by pressing Ctrl+V.
So now folders named "V31552-01″ and "V31553-01″ are empty.
Proceed further as follows :
- Go to folder "V31551-01″ and select all files by pressing Ctrl+A.
- Press Ctrl+X to cut the files
- Go to folder "V31550-01″
- Open folder "ThirdParty"
- Open folder "ORACLE"
- Paste the files here by pressing Ctrl+V
So by now only "V31550-01″ contains all the files and "V31551-01″, "V31552-01″ and "V31553-01″ are all empty.
Cut the entire folder "V31550-01″ and paste it directly in the root directory ("C:" Drive) so that you have "V31550-01″ folder locatedi in your C drive.
Rename the folder from "V31550-01″ to "Standalone_9.10″ to follow Oracle's naming convention.
You can delete the old "JDE" directory you had created as it does not contain data anymore.
If you have followed all the steps correctly till now then you must have the database files located at "C:\Standalone_9.10\ThirdParty\ORACLE\"
Part 2 : Extract-Install-Cut-Paste with Oracle Database
Let us proceed with the installation of Oracle Database.
Extract the Oracle Database 11g Release 2 Client (11.2.0.1.0) for Microsoft Windows (32-bit) file you downloaded, for me it was "V20606-01.zip".
Browse to the "client" folder in the extracted files and folders.
Run as administrator the "setup.exe" (How to do it? Right click on setup.exe and click on "Run as administrator").
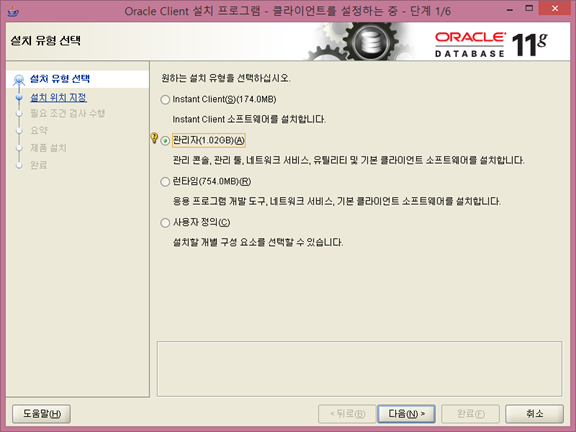
A window with pop up where you are supposed to select "What type of installation do you want?". Choose "Administrator" and hit Next.
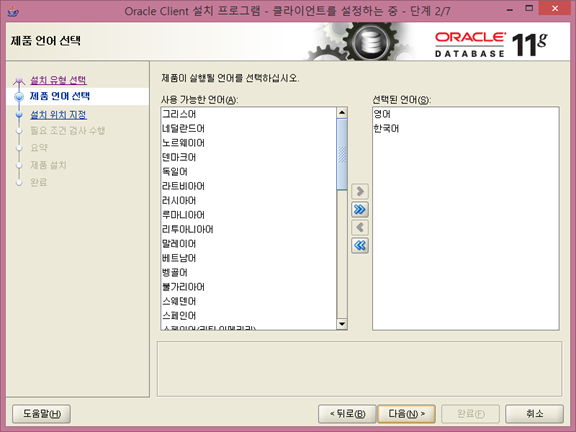
Next choose the language english (it will be already selected) and hit Next.
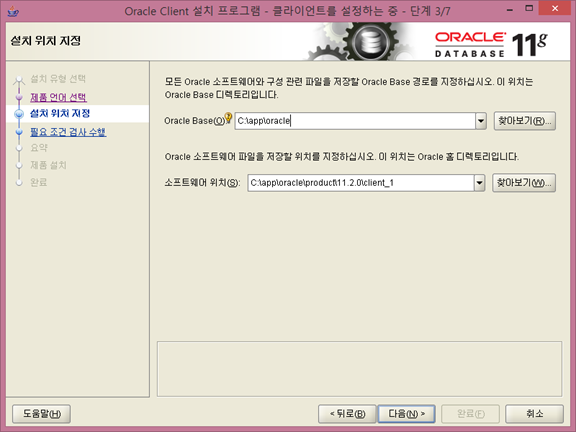
Next you will need to specify Oracle base path and Oracle software location, keep them default (unless you have a problem with that) and click Next.
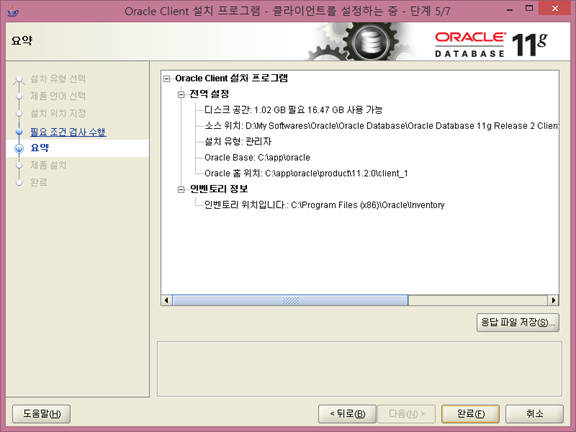
Click Finish.
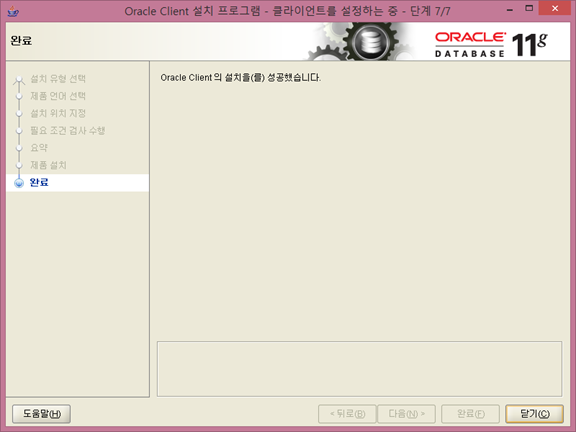
You will see the installations happening and then you will get a message "The installation of Oracle client was successful.", click "Close".
Part 3 – Installing EnterpriseOne Database Engine
Follow these steps :
- Go to your Standalone_9.10 directory
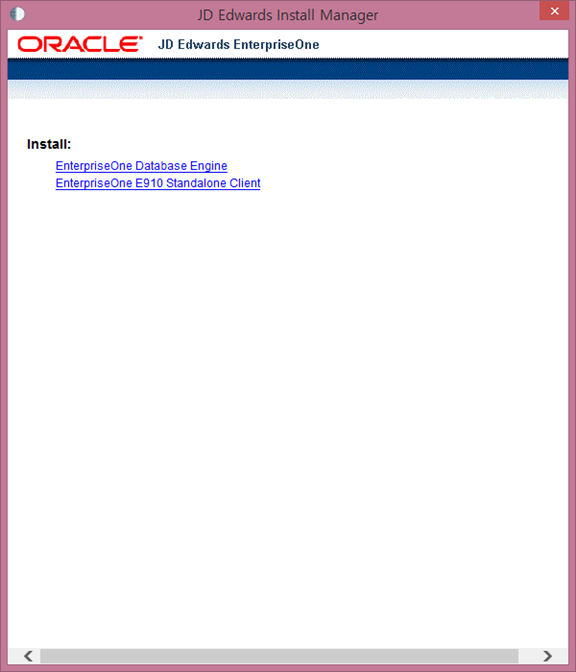
- Run as administrator "InstallManager.exe"
- Click on "EnterpriseOne Database Engine" in the JD Edwards Install Manager
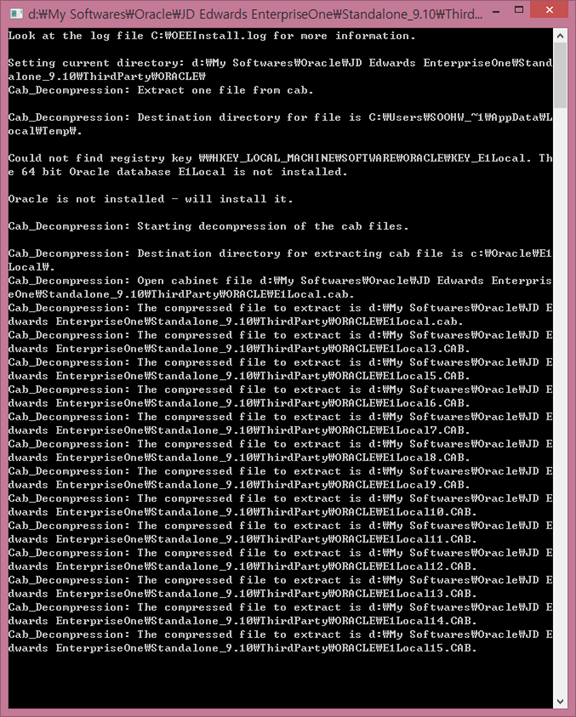
- Installation takes quite a few minutes and has no prompts for you, so you can sit back and relax for a while.
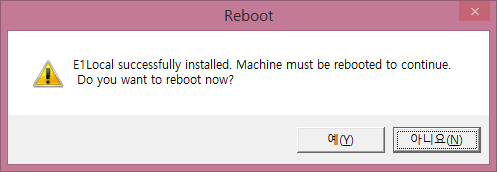
- Once the installation is complete you will be prompted with a Reboot prompt. Click on Ok to reboot the machine.
Part 4 – Installing EnterpriseOne Standalone Client
Follow these steps :
- Go to your Standalone_9.10 directory
- Run as administrator "InstallManager.exe"
- Click on "EnterpriseOne E910 Standalone Client" in the JD Edwards Install Manager
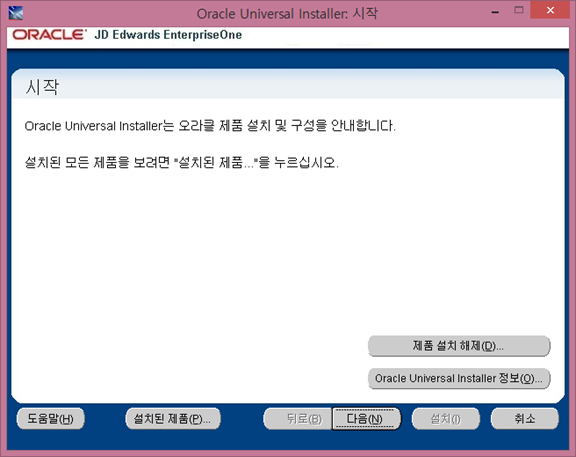
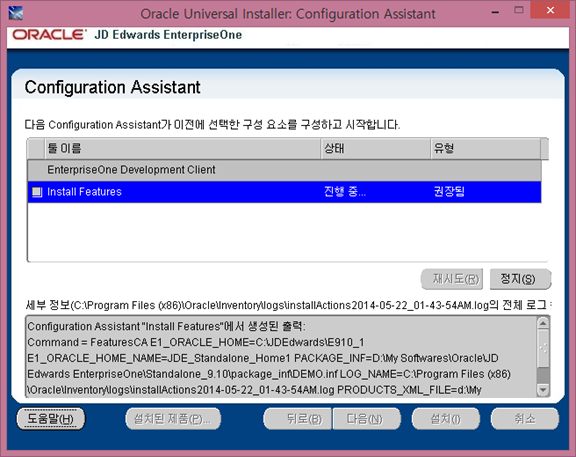
- Oracle Universal Installer will open where you will need to click on "Next"
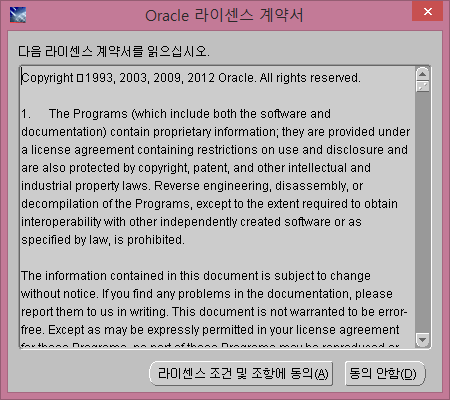
- Accept the "License Terms and Export Restrictions"
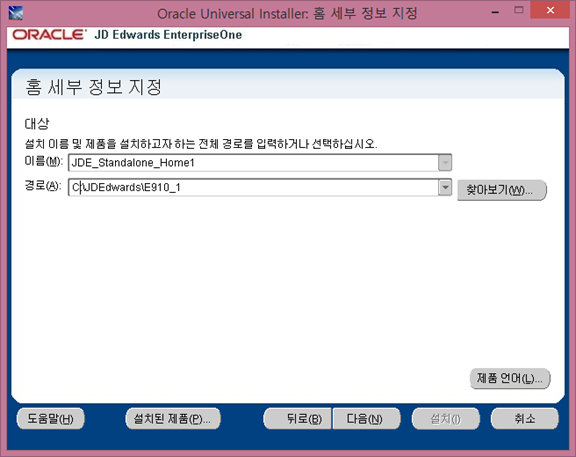
- Under "Specify Home Details" keep the default values as it is and click "Next".
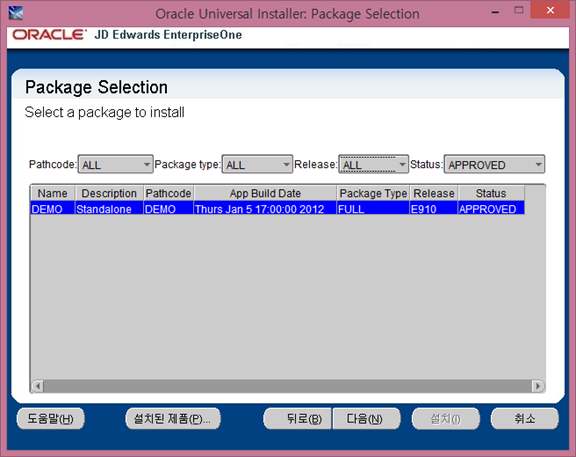
- Under "Package Selection" keep the default values as it is and click "Next".
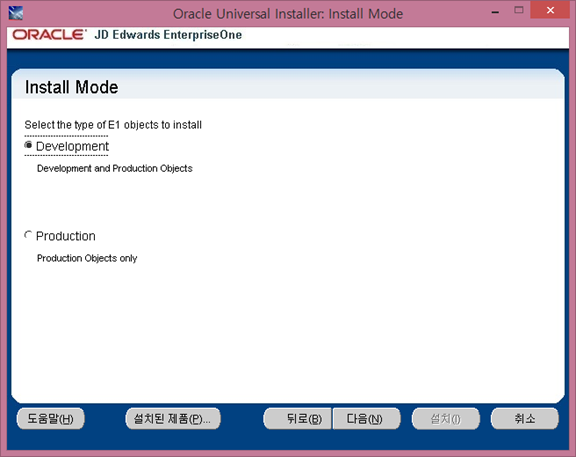
- Under "Install Mode" choose "Development" and click "Next".
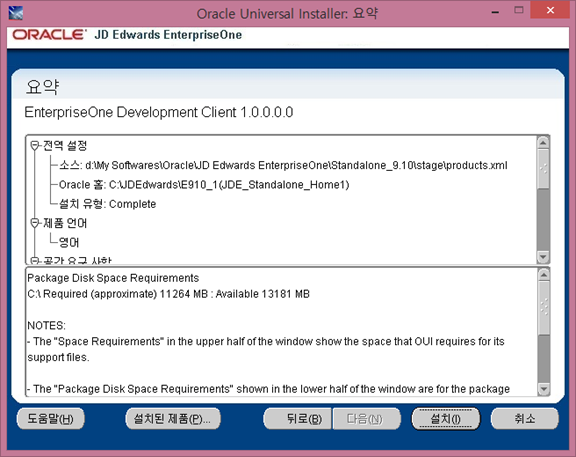
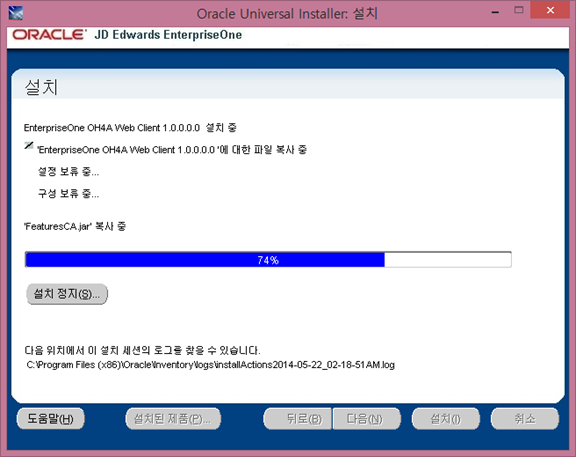
- You will shown the install Summary where you can click "Install" to proceed with installation
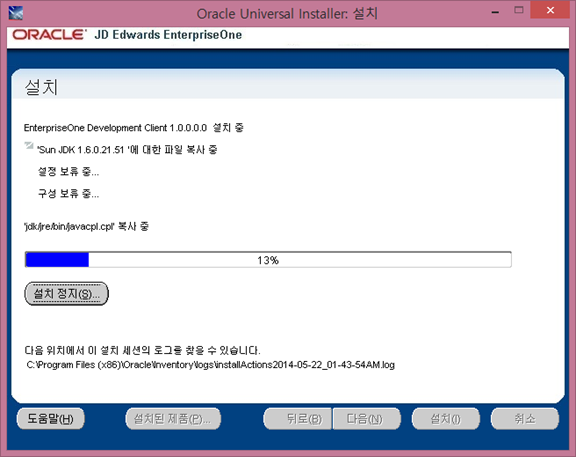
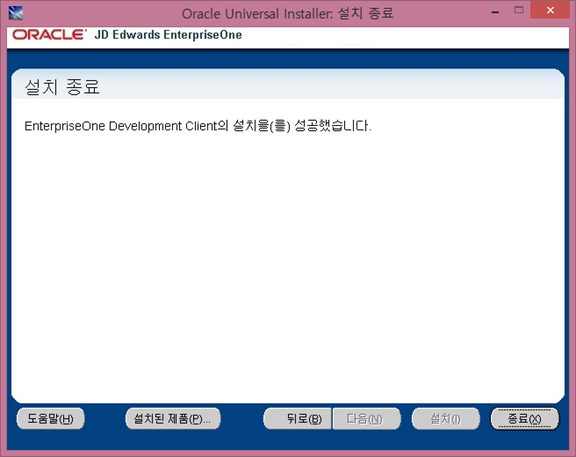
- At the end of installation you will see a EnterpriseOne Development Client installation successful message.
- Click Exit and confirm by clicking Yes.
Part 5 – Final Step
You will now have a directory named Oracle in your C drive.
Go to C:\Oracle\E1Local\NETWORK\ADMIN\
Copy tnsnames.ora file.
Go to C:\app\jdedemo\product\11.2.0\client_1\network\admin
Paste tnsnames.ora file here.
# Please edit this file to add the necessary oracle database
# E1LOCAL is required (Local Oracle Database)
# DO NOT DELETE E1LOCAL entry
Run EnterpriseOne Solution Explorer
Just go to your Desktop and open EnterpriseOne Solution Explorer.
Enter username as "DEMO" and password as "DEMO" (without quotes)
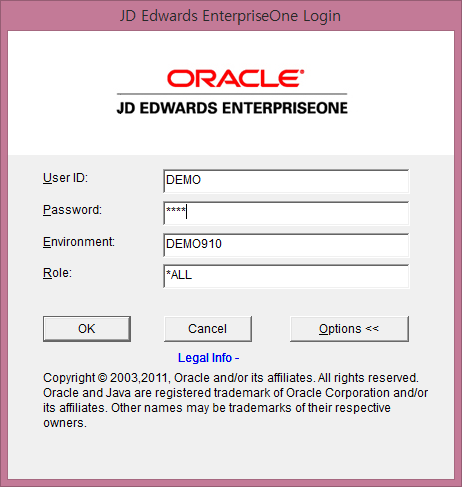
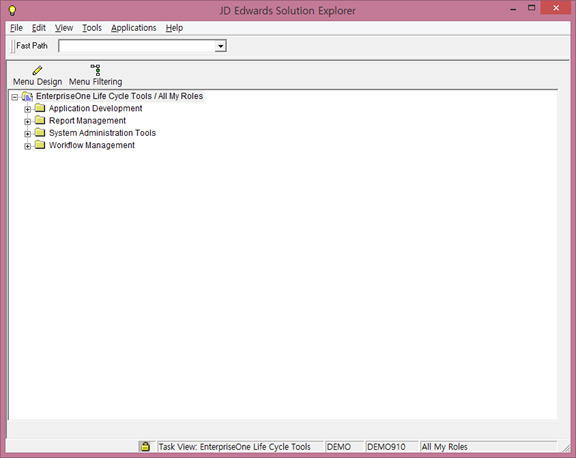
Voila! You have installed JD Edwards 9.1 Standalone Client Succesfully!
Credits to Oracle for the software and JDE Fusion for the wonderful video tutorial which was used by me as reference to learn the installation process.
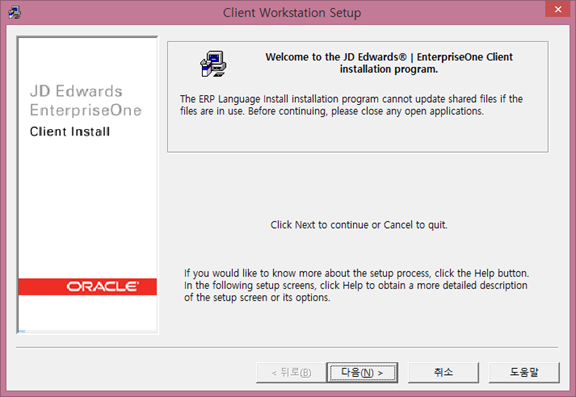
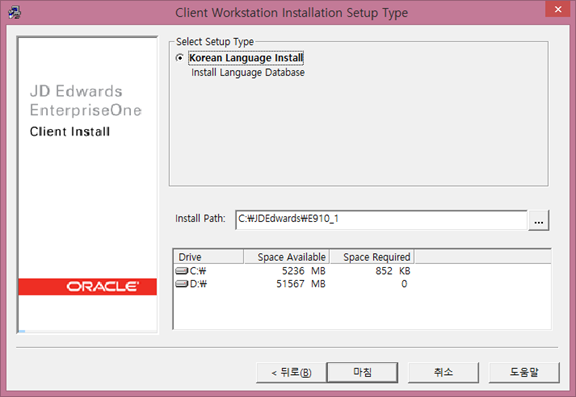
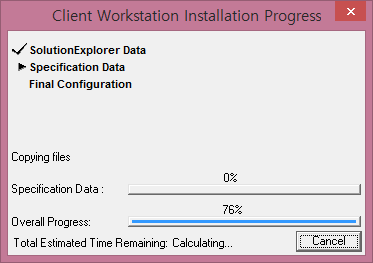
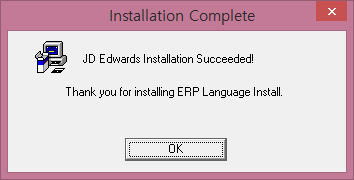
Language Installation
Follow these steps :
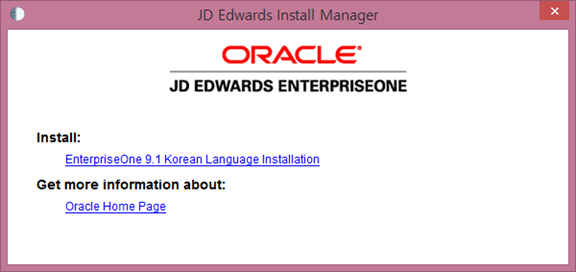
- Go to your Korean directory
- Run as administrator "InstallManager.exe"
- Click on "EnterpriseOne 9.1 Korean Language Installation" in the JD Edwards Install Manager
- Oracle Universal Installer will open where you will need to click on "Next"
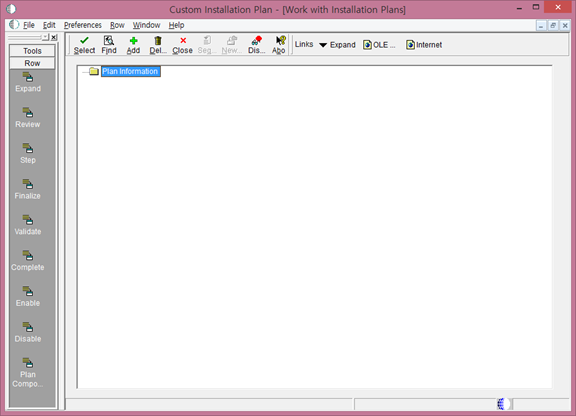
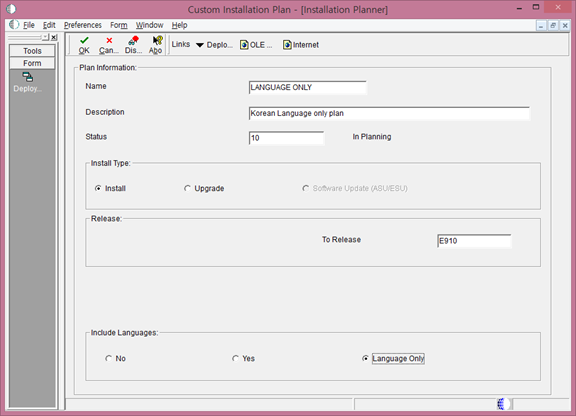
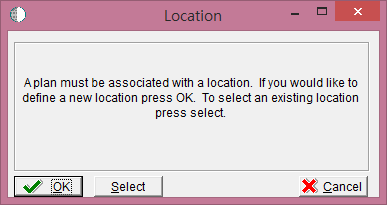
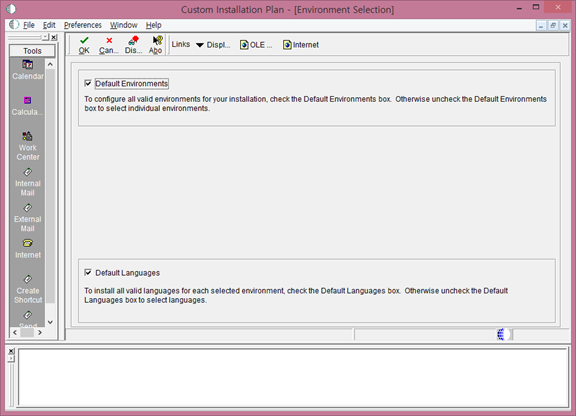
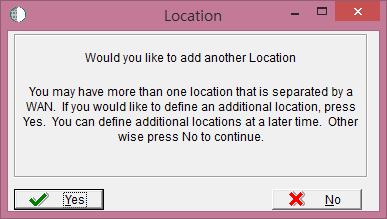
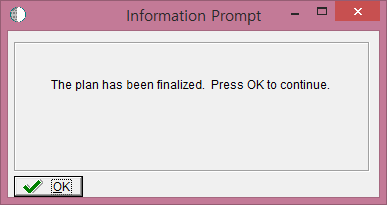
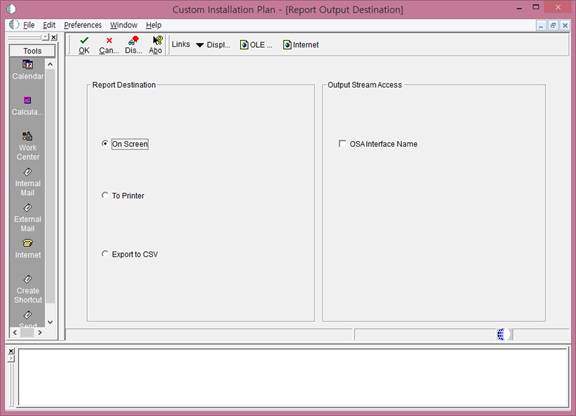
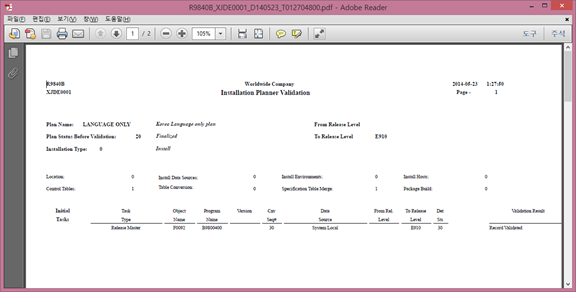
- Run EnterpriseOne Solution ExplorerSystem Administration Tools > System Administration Tools > Custom Installation PlanAddOKOKOKNOOKOK
Change Password of the Local Oracle Database
Run as administrator to <E1_install_dir>\system\bin32\ReconfigureMSDE.exe
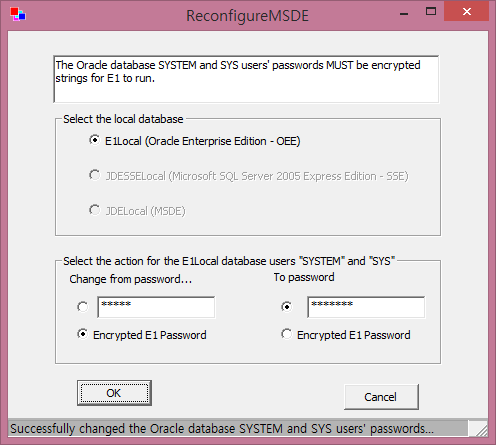
현재 비밀번호와 변경될 비밀번호를 입력 (경우에 따라 Encrypted 되어 있을 수 있음)
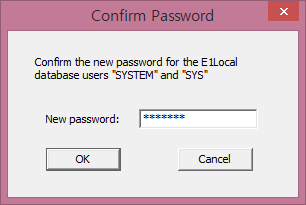
참고로 기본 비밀번호는 admin
References
- http://bisandbox.blogspot.kr/
- http://www.jdefusion.com/2008/10/oracle-announced-jdedwards-most-recent.html
- http://www.jdefusion.com/2012/05/jd-edwards-91-standalone-installation.html

댓글 없음:
댓글 쓰기